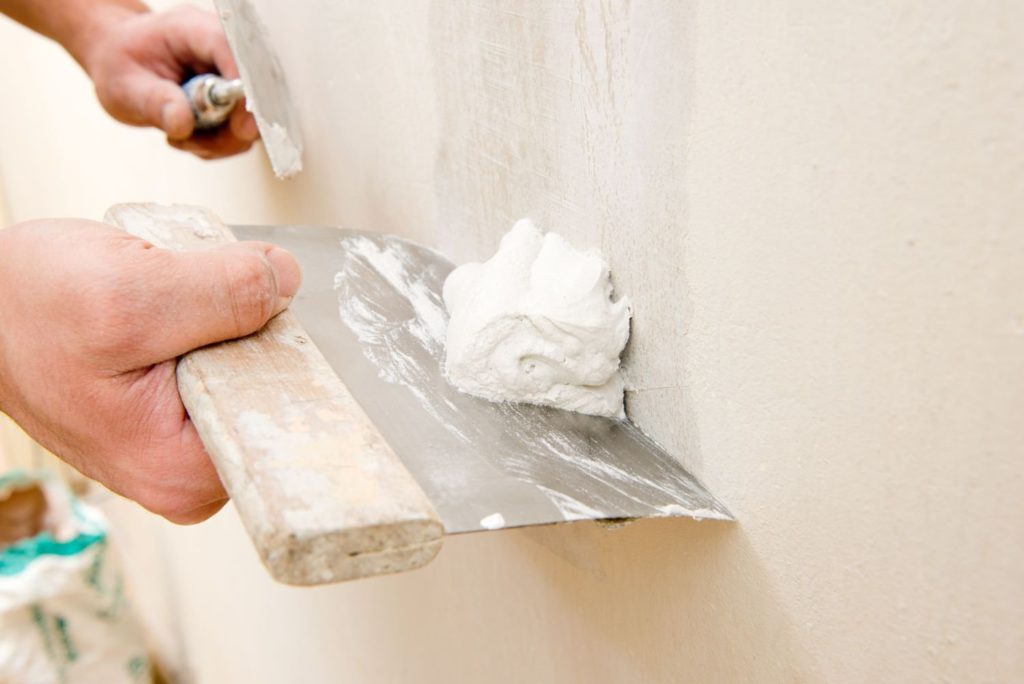
Skim coating is a texturing technique used to make a wall smooth. Drywallers use this technique to hide an imperfect taping job, to give the wall a plaster-like appearance and in situations when only the smoothest surface will do. Skim coating is the only way to achieve a level 5 drywall finish, which a number of trade associations recommend for areas of bright or critical lighting.
Finish Levels
Finish levels 0, 1 and 2, as defined by a Gypsum Association document, are appropriate for areas hidden from view, such as attics, garages and unfinished storage spaces. A level 3 wall needs a heavy coat of texture to hide the taped seams, and a level 4 wall is one that has flat seams and will appear flat when properly painted. A level 5 wall can withstand close scrutiny under a variety of lighting sources and appear flat, with no visible evidence of seams or fasteners. The only way to achieve this is by coating the wall with a thin layer of joint compound.
The Process of Skim Coating
You can skim coat with mud that has the same consistency as that you use for taping, but some finishers prefer to thin it slightly with water. The process is simple, but it takes practice to do correctly. You trowel the mud on with a drywall knife or roll it with a roller and then immediately scrape the wall with the knife, leaving only a smooth layer behind. Skim coating works best if done in thin layers, so if the wall is lumpy or has an existing rough texture, it may take more than one skim coat to flatten it.
When to Skim Coat
Skim coating can be a time-consuming process, and it isn’t always necessary. It’s especially desirable in areas of critical lighting, such as the upper parts of walls under a skylight or a hallway with a light source that shines obliquely on the walls. It’s also good to skim coat if you paint the walls with a gloss or semigloss paint, because reflective paint tends to exaggerate defects. Because a skim coat is a type of texture, you normally don’t need one if you’re applying a different type of texture, such as a knockdown or eggshell.
Painting Over a Skim Coat
Because you deposit a thin layer of joint compound on the wall when you skim coat, it’s important to prime before you paint. The primer contains a sizing agent — usually polyvinyl acetate — to seal the porous material and provide better adhesion for the topcoat. Allow the skim coat to dry and sand it lightly with a pole sander and 120-grit paper before priming. The sandpaper knocks down tool marks, ridges and other defects left after skim coating. You can often improve coverage of the topcoat by tinting the primer in the direction of the final color.
