
The Three Critical Windows for Concrete Curing
We all know this: same mix design, same materials, one batch properly cured, the other neglected – 28‑day strength can differ by a whole grade.
Even more common: the concrete looks fine right after placement, but a week later the surface is covered with cracks. Test reports show materials and mix design are all up to standard. So what went wrong? Curing was left behind.
Curing is often skimped on at job sites – not because it’s unimportant, but because the consequences don’t show up immediately. This article cuts through the noise and explains three things: what curing actually does, when it matters most, and how to do it right.
1.What Curing Really Does: Keeping Hydration Alive
Where does concrete strength come from? Not from drying out, and not from hardening in the sun – it comes from the chemical reaction between cement and water.
Cement minerals react with water to form calcium‑silicate‑hydrate (C‑S‑H) gel – the very foundation of concrete strength. Simply put: concrete doesn’t harden because it dries; it hardens because it reacts.
Hydration has one non‑negotiable requirement: water must be continuously available. As the reaction consumes water, the system needs a steady supply from outside. If surface moisture evaporates too fast, the reaction stops – not slows down, but stops permanently. Those unreacted cement particles turn from “cementitious material” into “inert filler” and will never contribute to strength again.
So curing boils down to one principle: keep hydration going from start to finish – don’t let it die of thirst halfway.
2.Three Critical Windows – Miss One and You Pay
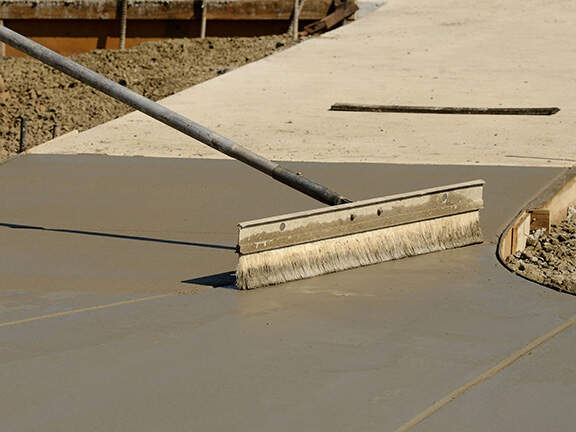
Curing isn’t effective at any time; there are three windows – if you miss them, later won’t help.
Window 1: Initial to Final Setting – The Golden Window for Crack Prevention
At this stage, concrete has almost no strength. If surface moisture evaporates too quickly, irregular plastic shrinkage cracks will form. Whether cracks appear is decided right here.
Window 2: 1–7 Days After Placement – The Strength Spurt
7‑day strength typically reaches over 70% of design strength. Hydration is fastest and strength gain is most dramatic during this period. Proper curing during these 7 days delivers more benefit than the following 21 days. Poor curing? The strength curve drops off starting from day 7.
Window 3: 7–28 Days – The Line Between Good and Mediocre
Codes require at least 7 days for ordinary concrete, 14 days for important structures or those with retarding admixtures, and 28 days for mass concrete or special requirements.
The difference between 7 and 14 days isn’t just one week – it’s the distance between “passing” and “excellent” hydration. Those few percentage points often mark the dividing line between crack resistance and safety margin.
3.How to Cure Properly?
Cover early. Cover with sheeting or geotextile before final setting. In hot or windy weather, cover immediately after placement – don’t wait. Once surface evaporation exceeds 0.5 kg/(m²·h), plastic cracking risk spikes.
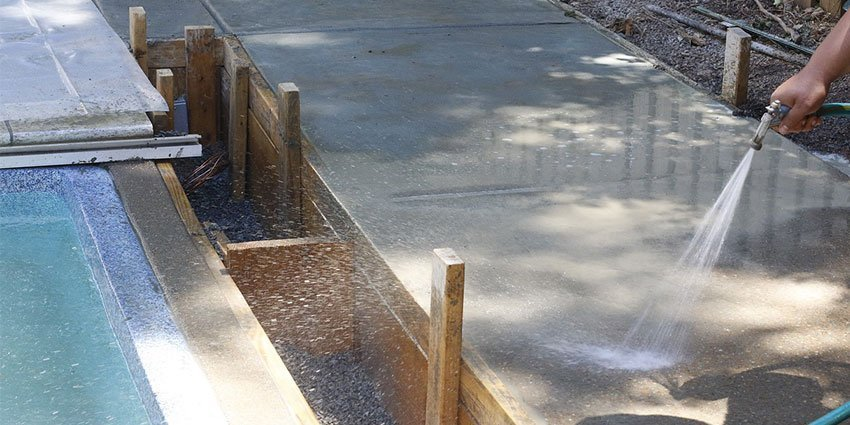
Keep it wet. One watering isn’t enough – the covering must stay continuously damp. The surface water film is the lifeline for hydration; once it breaks, replenish it right away.
Give it enough time. 7 days is the minimum; 14 days is better. Early formwork removal to meet deadlines is okay – but formwork removal doesn’t mean curing stops. Keep watering and covering after stripping – the two aren’t mutually exclusive.
Conclusion
Concrete strength isn’t determined at the moment of placement – it grows day by day during curing. Every watering supplies fresh reactant to keep cement particles active. Every skipped watering prematurely kills a portion of cement’s reactivity.
A good job site isn’t about who pours faster – it’s about whose hoses are still running, whose covers are still in place, and whose workers are still watering on schedule during the curing period.




Concrete & Beton Tech+
Sticky Concrete with Normal Slump: Causes & Solutions
Concrete can have normal slump but still feel sticky and difficult to pump. Learn how fines, PCE, VMA, aggregate grading, and rheology affect pumpability… Continue reading
PCE Cement Compatibility: Why Performance Changes
PCE performance can change after switching cement. Learn why water reduction, slump retention, and setting behavior change and how to identify the cause… Continue reading
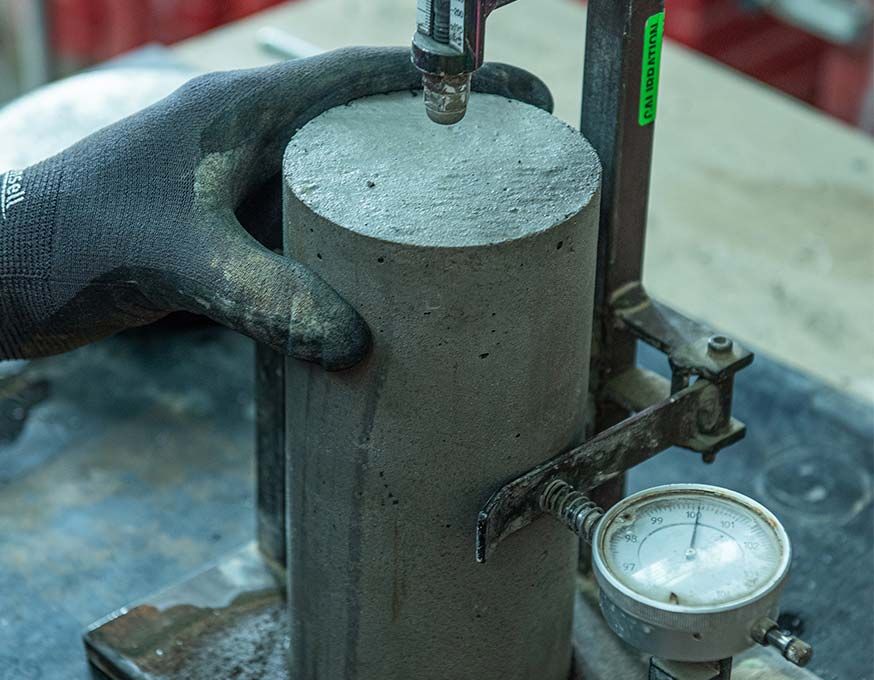
Why Does Concrete Strength Vary Between Batches?
Learn why concrete strength varies between batches and how to improve consistency through proper water control, raw materials, admixture dosing, mixing, and curing… Continue reading
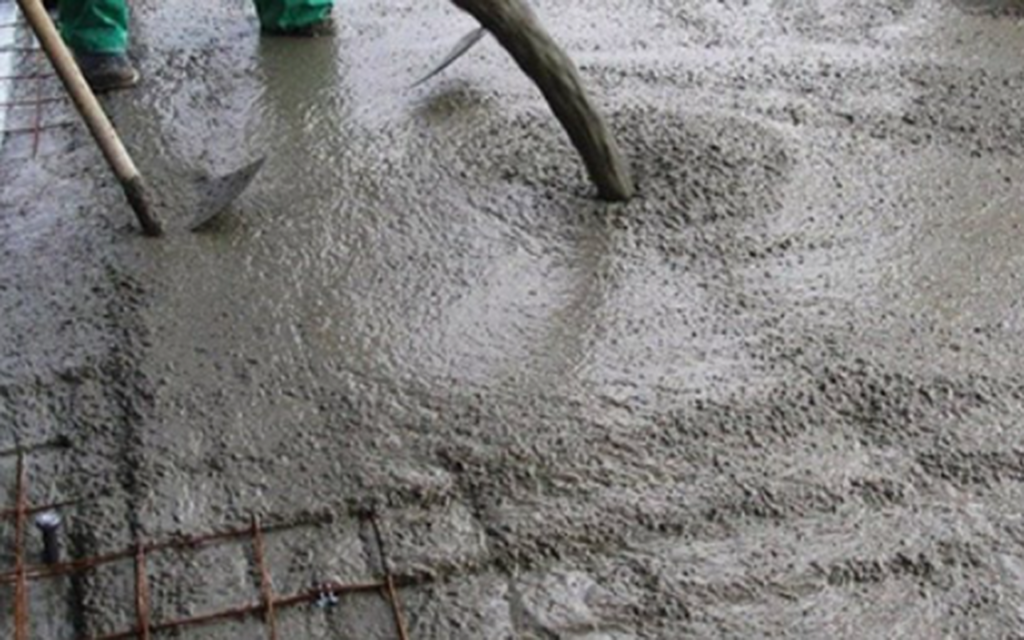
The Role of Expanding Agents in Compensating Shrinkage of Mass Concrete Foundations
Cracking after mass concrete foundation pouring? Thermal shrinkage, drying shrinkage, and autogenous shrinkage combined are the culprits. … Continue reading
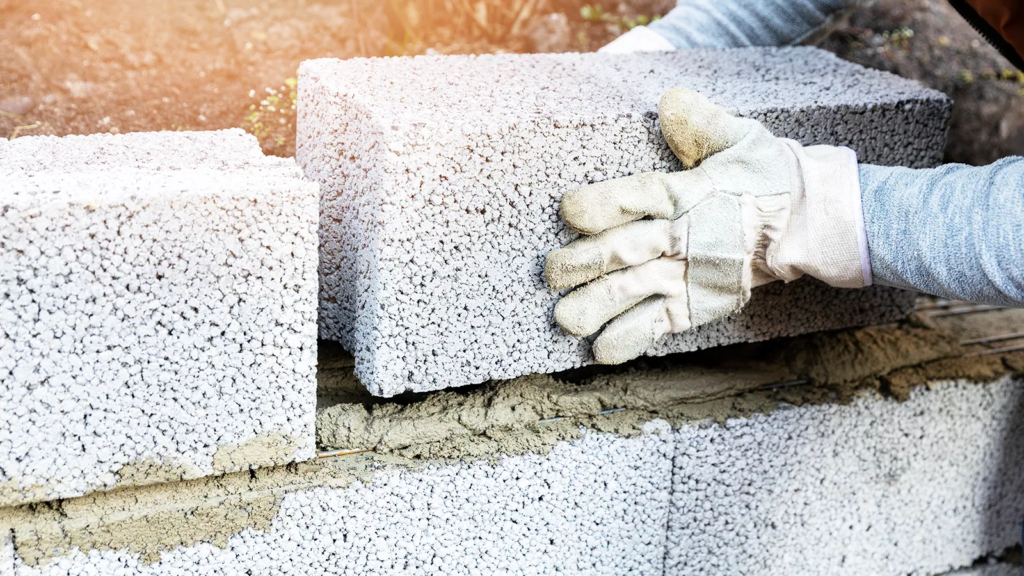
Lightweight Aggregate Concrete Lacking Viscosity?
Lightweight aggregate concrete segregation, aggregate floating, pump blockages? The root cause is insufficient viscosity. This article details four practical methods — viscosity modifier dosage (0.02%–0.03%), aggregate pre-wetting, mix optimization, and specialized admixtures — to solve workability problems once and for all… Continue reading
How Does Air-Entraining Agent Affect Concrete Strength?
Each 1% air content reduces concrete strength by 4%–6%. How to balance? This short article gives three practical methods: measure air content, lower w/c, and choose a stable-foam AEA. Direct and actionable… Continue reading
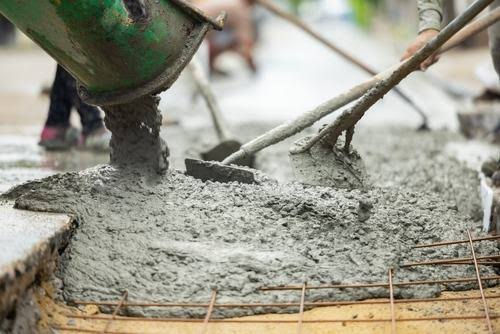
Which Admixtures Improve Concrete Durability?
Discover which concrete admixtures improve durability, including Polycarboxylate Superplasticizers, Air-Entraining Agents, Corrosion Inhibitors, Waterproofing Admixtures, and Concrete Fibers. Learn how to enhance strength, reduce permeability, and extend service life… Continue reading
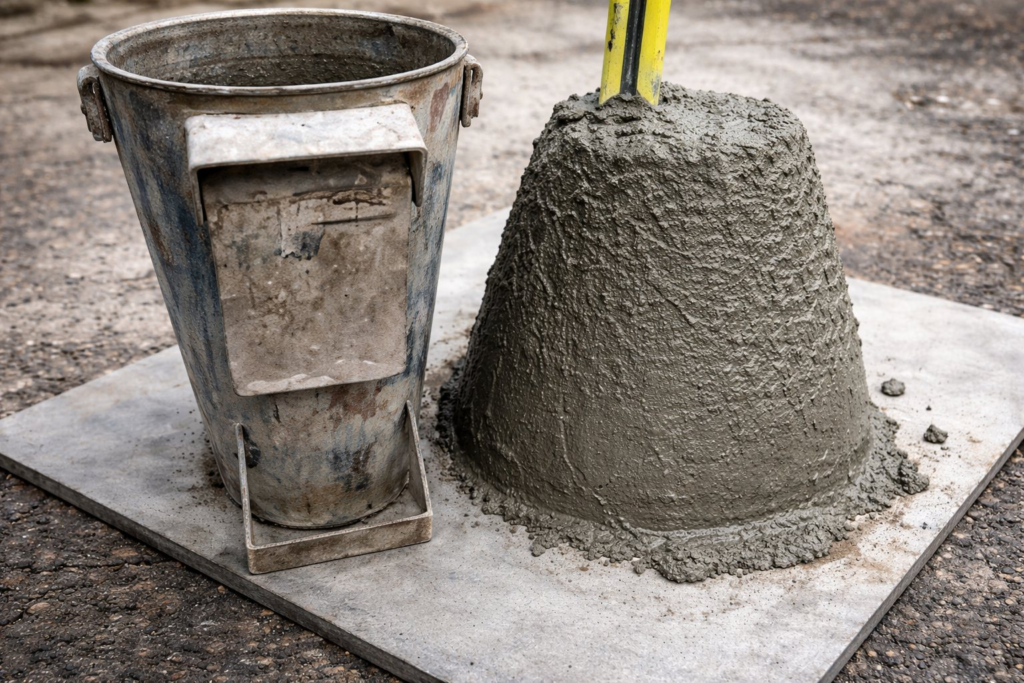
How to Maintain Slump Retention During Long-Distance Transportation
Learn how to maintain concrete slump retention during long-distance transportation by optimizing mix design, selecting the right admixtures, and improving production practices… Continue reading
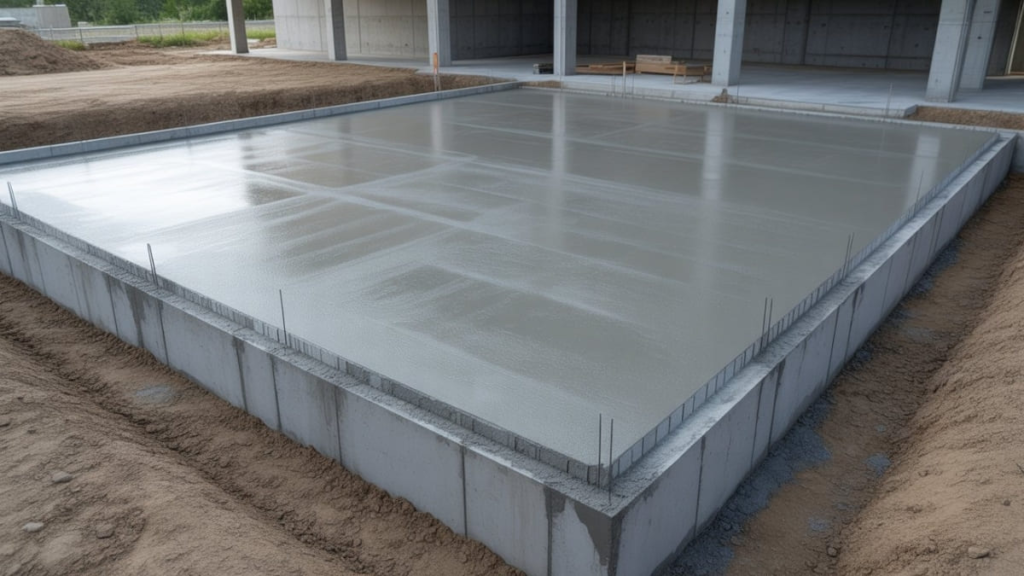
Why Does Concrete Bleeding Occur?
Learn why concrete bleeding occurs, what causes excessive bleeding, and how to reduce it using proper mix design, Polycarboxylate Superplasticizers (PCE), and Viscosity Modifying Agents (VMA)… Continue reading
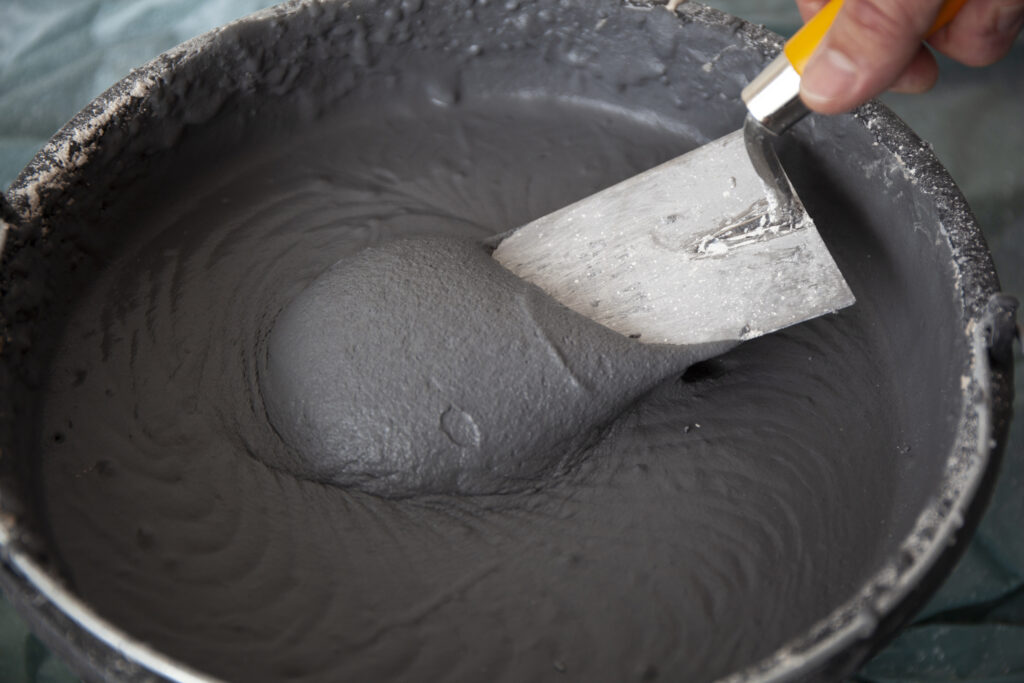
Concrete Admixture Role
This article explains how concrete admixtures improve workability and durability: slump control, setting time adjustment, impermeability enhancement, and solutions for bleeding, segregation, and shrinkage cracks… Continue reading
