
Pinholes in Self-Leveling Mortar: Defoamer, Mixing, or Substrate?
Pinholes in self-leveling mortar appear as small open pores after application or curing. They reduce surface smoothness and may indicate that excessive air remains in the fresh mortar.
The first reaction is often to add more defoamer. However, air may also be drawn into the mortar during mixing, released from a porous substrate, or trapped because the mortar loses flow and healing ability too quickly.
The key question is therefore:
Where does the air come from, and why can it not escape before the surface closes?
Pinholes should be treated as a root-cause problem rather than simply a defoamer-dosage problem. SidleyChem’s previous dry powder defoamer article also identifies slowly eliminated bubbles as a cause of pinholes and honeycomb-like surfaces in flowable mortar.
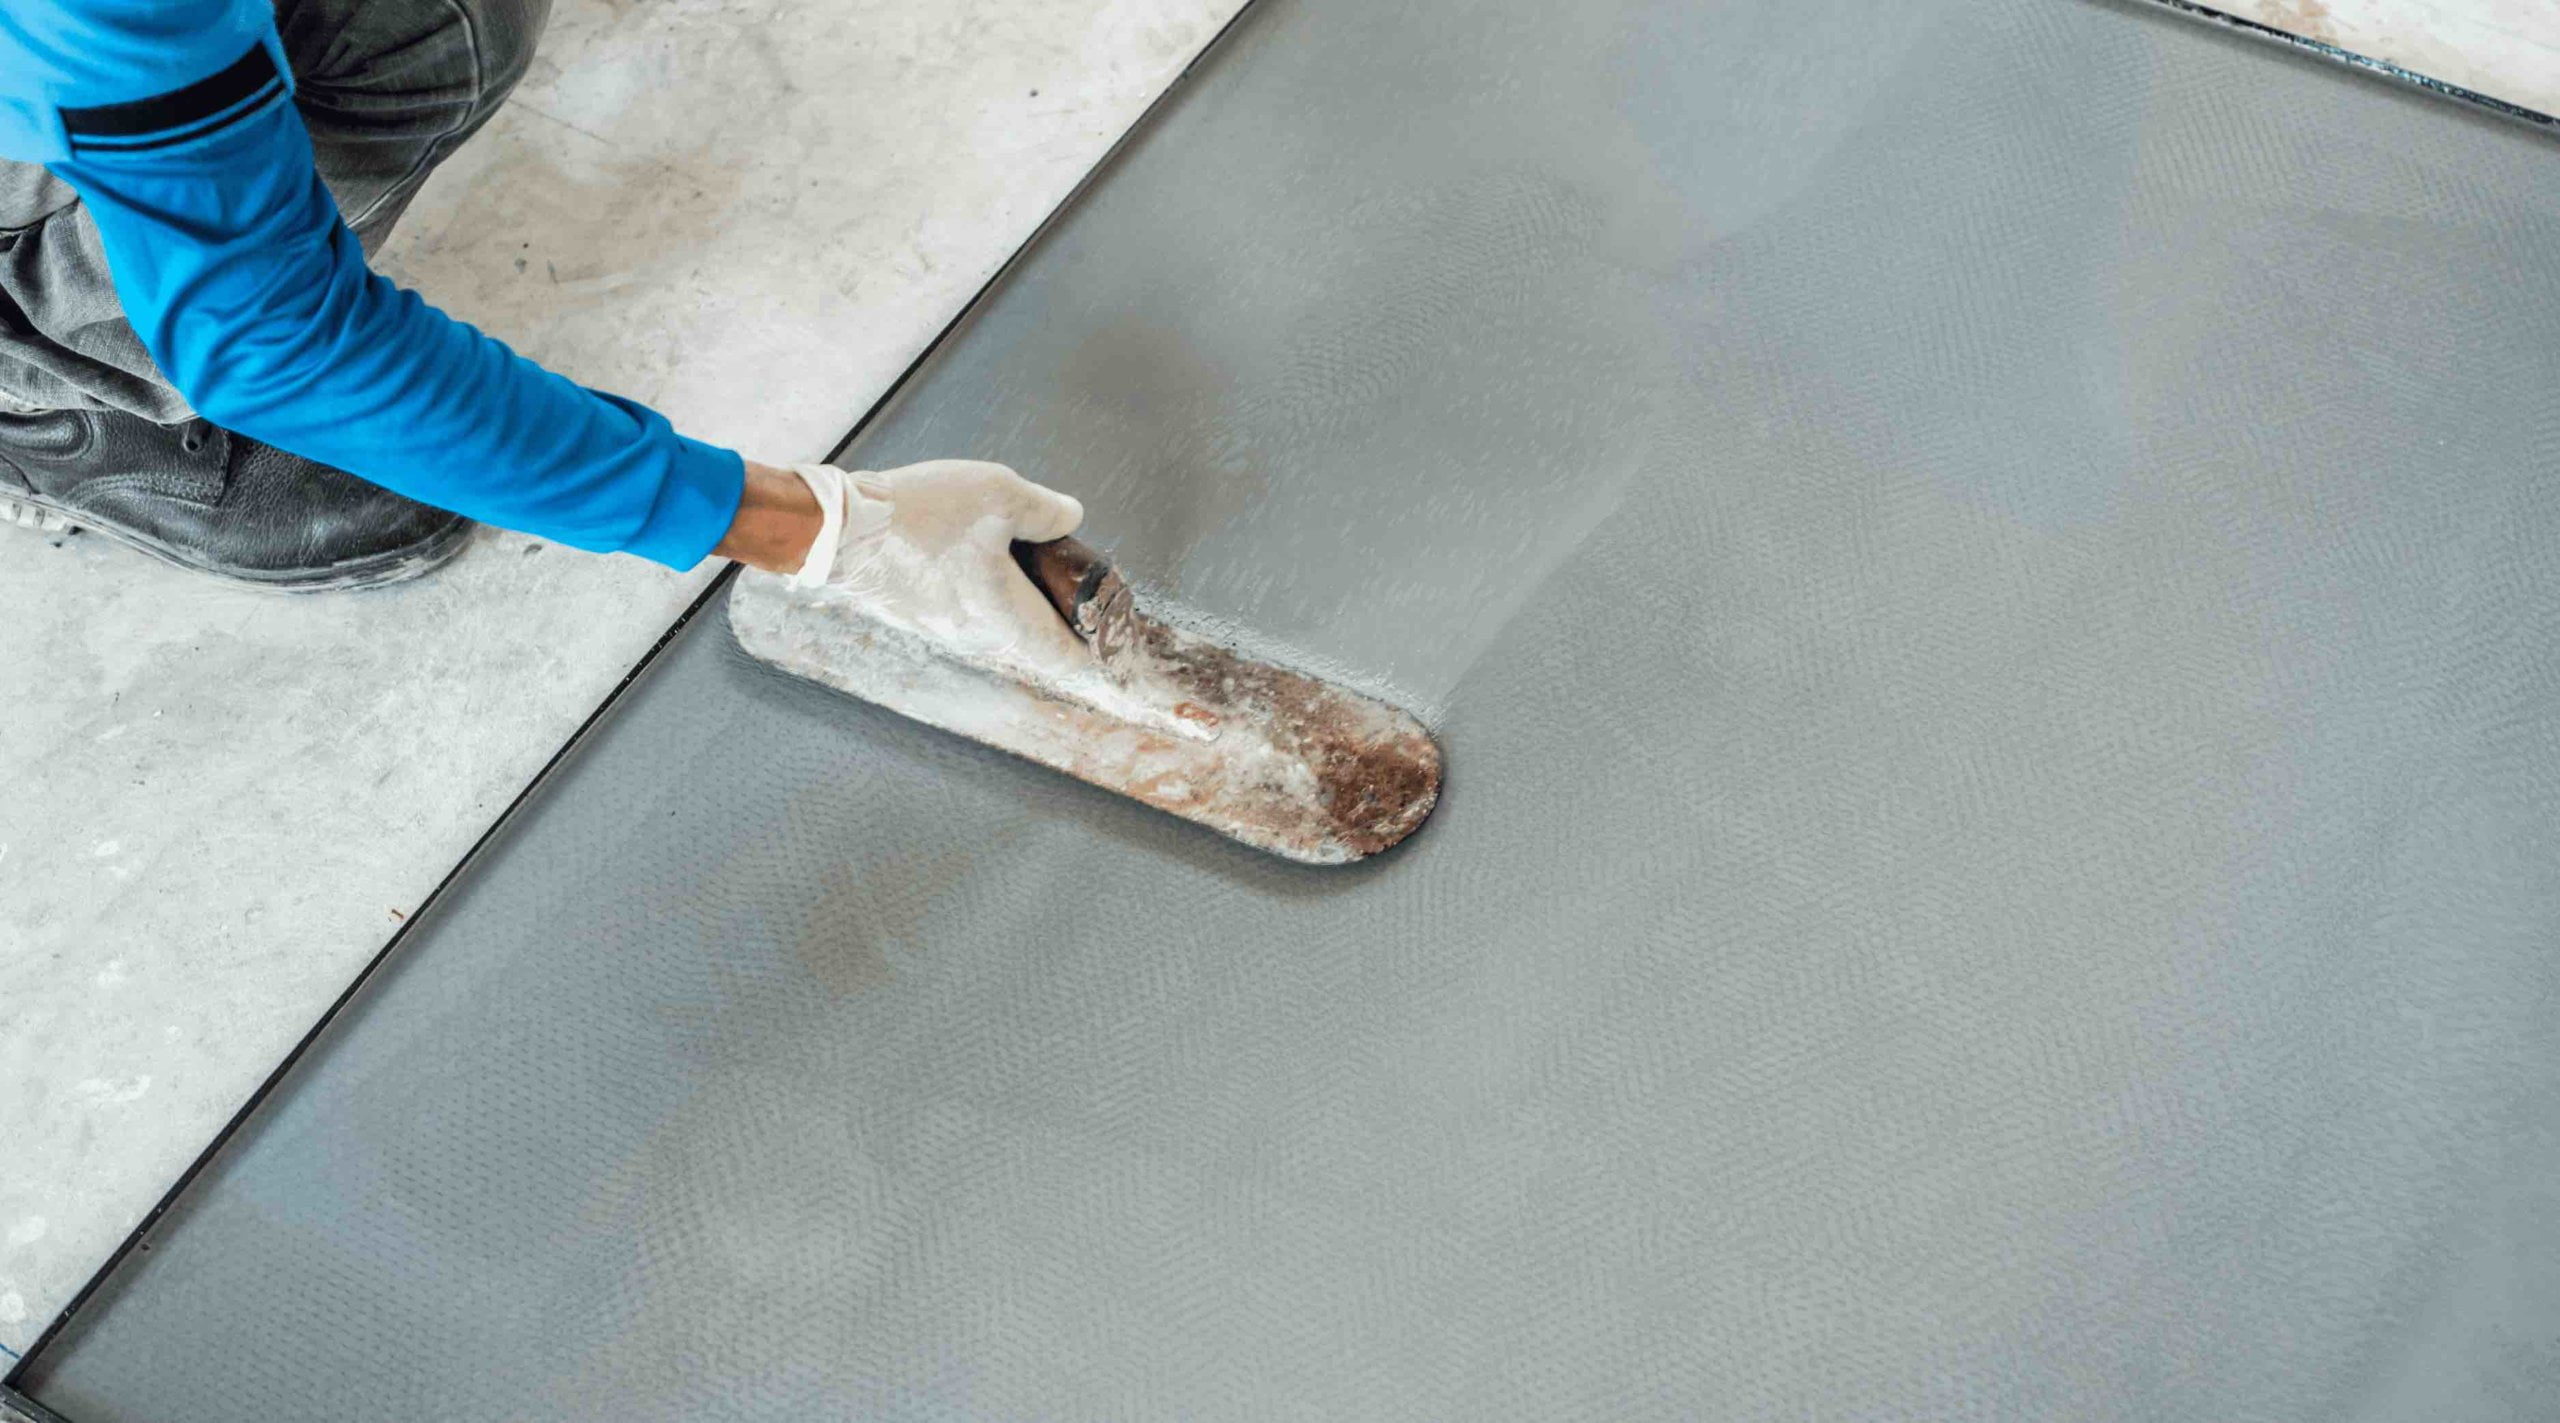
1. Defoamer and Formulation Problems
Self-leveling mortar usually contains a polycarboxylate superplasticizer, redispersible polymer powder, a suitable cellulose ether for self-leveling compounds, setting regulators, and other functional additives.
The performance of powder defoamer in dry-mix mortar depends on how it interacts with this complete additive package. A successful formulation must balance flow, stability, deaeration, setting time, and self-healing rather than maximizing only one property.
Defoamer-related pinholes may occur when:
- the dosage is too low;
- the defoamer acts too slowly;
- fine microbubbles remain in the slurry;
- the defoamer is incompatible with the PCE or polymer powder;
- the powder is not evenly distributed in the dry mix.
More defoamer is not automatically better. Excessive or incompatible defoamer may produce oily marks, uneven surface defects, or changes in mortar flow. The correct target is the minimum effective dosage that controls harmful air without negatively affecting the other properties of the mortar.
2. Excessive Air During Mixing
A suitable formulation can still develop pinholes if the mixing process draws too much air into the slurry.
Common causes include:
- an unsuitable mixing paddle;
- an oversized container;
- a small batch volume;
- excessive mixing time;
- operating the paddle too close to the surface;
- creating a strong air-drawing vortex;
- adding extra water after mixing.
The mixer, paddle, speed, batch size, water dosage, and mixing time should be standardized before the formulation is changed.
Commercial self-leveling underlayment instructions commonly require the paddle to remain immersed to avoid entraining excess air. They also warn against adding extra water after the defined mixing procedure.
Change only one mixing condition in each comparison test. If longer mixing produces more pinholes while the formulation and substrate remain unchanged, mixing-induced air is the most likely direction to investigate.
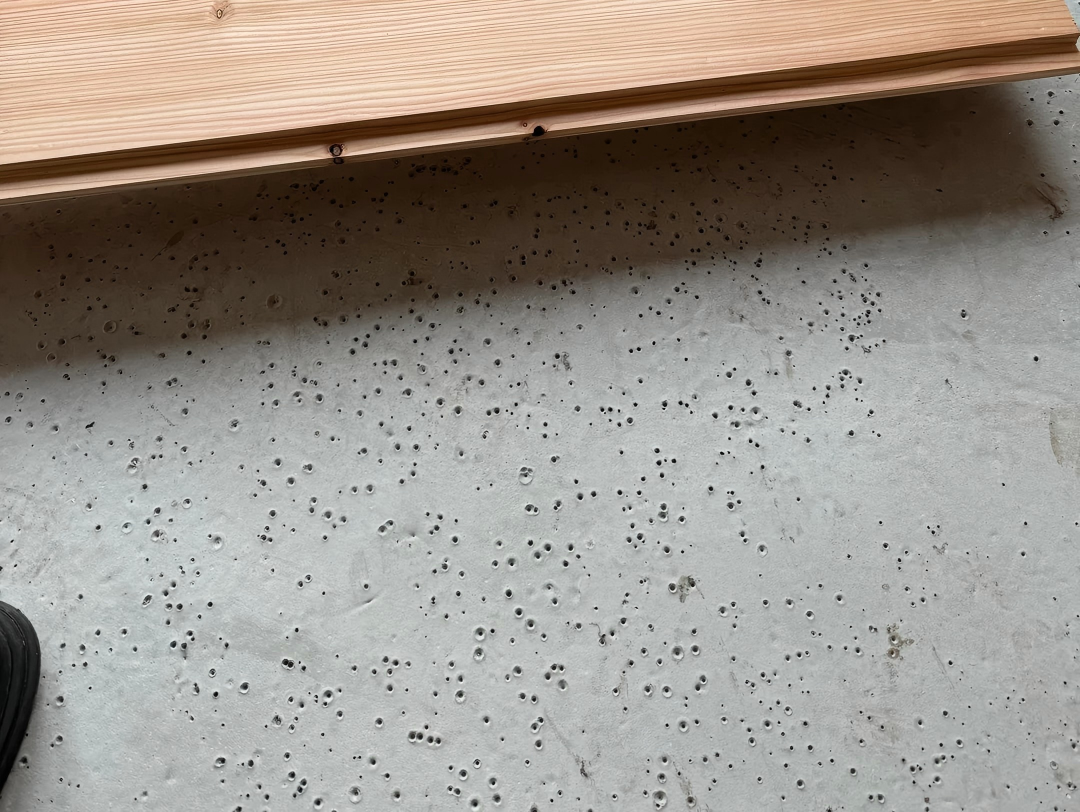
3. Substrate Outgassing
If the slurry looks relatively bubble-free in the mixing container but develops pinholes after it is poured onto concrete, the substrate may be releasing air.
Porous concrete contains air within its pore structure. When fresh self-leveling mortar covers the surface, this air can move upward through the wet layer and form bubbles.
At the same time, a highly absorbent substrate may remove water from the bottom of the mortar. The material can then lose the flow and self-healing ability needed to close the holes left by escaping bubbles.
A suitable primer helps:
- seal the pores of the substrate;
- reduce substrate outgassing;
- limit water loss from the fresh mortar;
- improve adhesion between the mortar and substrate.
Official primer documentation for self-leveling underlayments specifically identifies reduced outgassing, reduced bubble formation, and reduced water loss as important functions of the primer. It also notes that highly porous substrates may require additional coats, while primer puddles should be avoided.
Substrate-related pinholes are more likely when:
- concrete has pinholes but a sealed test plate does not;
- defects are concentrated in highly absorbent areas;
- primer coverage is incomplete or uneven;
- the primer is absorbed almost immediately;
- only certain parts of the floor are affected.
4. Insufficient Flow Retention and Healing Time
Good initial flow does not guarantee a smooth final surface.
If the mortar begins to stiffen before the bubbles rise and break, the openings cannot close. The material may pass an initial flow test but still have insufficient working or healing time.
Possible causes include:
- excessively rapid setting;
- high material or application temperature;
- excessive substrate absorption;
- an unbalanced accelerator-retarder system;
- excessive stabilizer or cellulose ether dosage;
- poor compatibility between the binder and PCE.
Initial flow, flow retention, healing time, setting behavior, and hardened performance should therefore be evaluated together.
ASTM C1708/C1708M includes comparative tests for initial flow, flow retention, healing time, setting time, compressive strength, and flexural strength in hydraulic-cement-based self-leveling mortars.
5. A Simple Three-Surface Test
A practical way to separate these possible causes is to use one mortar batch and apply it at the same thickness onto three different surfaces:
- a sealed, non-absorbent plate;
- a correctly primed concrete panel;
- an unprimed porous concrete panel used only for comparison.
Keep the following conditions unchanged:
- water-to-dry-mix ratio;
- mixing equipment;
- mixing time;
- material temperature;
- application thickness;
- observation time.
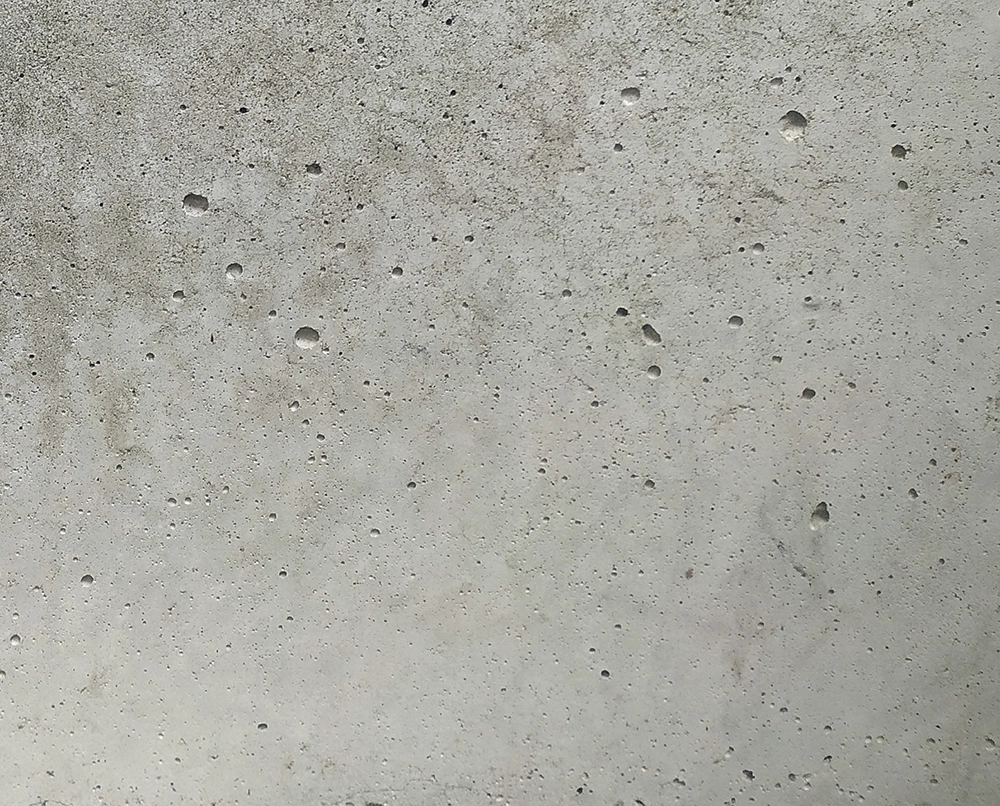
How to Interpret the Results
| Test Result | Most Likely Direction |
|---|---|
| Pinholes appear on all three surfaces | Formulation or mixing process |
| Sealed plate is smooth, but concrete has pinholes | Substrate condition or priming problem |
| Only the unprimed concrete panel has pinholes | Substrate outgassing |
| Longer mixing creates more pinholes | Excessive mixing-induced air |
| Higher defoamer dosage creates oily marks or crater-like defects | Excessive dosage or poor compatibility |
| Bubbles rise but the holes do not close | Insufficient flow retention or healing time |
This comparison does not replace complete performance testing, but it can quickly separate substrate-related defects from formulation and mixing problems.
Conclusion
Pinholes in self-leveling mortar are not always caused by insufficient defoamer.
The root cause may be:
- overly stable foam;
- excessive air introduced during mixing;
- substrate outgassing;
- poor primer coverage;
- insufficient flow retention and healing time.
The fastest troubleshooting method is to standardize the mixing process, compare sealed and porous substrates, and change only one variable at a time.
A smooth self-leveling surface requires a balance of effective defoaming, controlled mixing, correct substrate priming, stable flow, and enough time for bubbles to escape before the surface closes.




Drymix Mortar Tech+
Tile Adhesive Slipping After Adding HPMC: Causes & Fixes
Tile adhesive can still slip even after increasing HPMC. Learn how HPMC grade, water demand, starch ether, thixotropy, and formulation balance affect slip resistance… Continue reading
Why Does Dry Mortar Have Poor Water Retention?
Learn why dry mortar has poor water retention and how HPMC and MHEC can improve water retention, workability, and cement hydration in dry-mix mortar… Continue reading
Dry-Mix Mortar Summer Formulation Adjustment
Why does the same formulation fail in summer? The key is cellulose ether. High temperatures cause ordinary HPMC water retention to drop sharply — increase dosage by 0.1%-0.2%, switch to high gel temperature grades, and combine with retarders. This article gives three practical adjustment directions to tackle summer construction challenges… Continue reading
Mortar Setting Too Fast in Summer Heat?
Mortar drying out in half an hour on summer job sites? High-temperature accelerated hydration is the culprit. This article breaks down the features and selection of sodium gluconate, citric acid, tartaric acid, and boric acid retarders, with dosage adjustment and blending strategies to tackle summer construction challenges… Continue reading
Why Does Dry Mix Mortar Cake During Storage?
Discover why dry mix mortar cakes during storage and transportation. Learn how moisture, packaging, raw materials, and formulation affect storage stability, and explore practical solutions to maintain product quality… Continue reading
Why Does Tile Grout Change Color After Curing?
Discover the most common causes of tile grout color inconsistency after curing and learn practical solutions through proper formulation, pigment selection, moisture control, and construction practices… Continue reading
Tile adhesive bond strength
Learn the most common reasons why tile adhesive loses bond strength and discover practical solutions through proper formulation, additive selection, substrate preparation, and construction practices… Continue reading
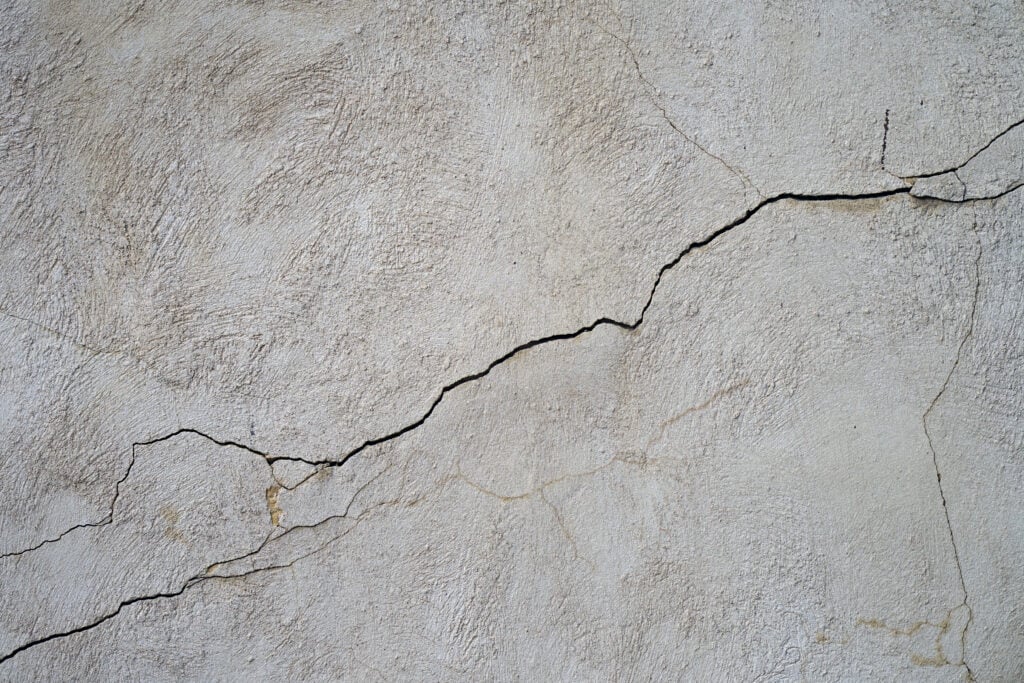
Gypsum Mortar Shrinkage: Causes and How to Prevent Cracks
Understand the main causes of gypsum mortar shrinkage and learn how to prevent cracks using HPMC, gypsum retarder, and proper formulation and construction practices… Continue reading
gypsum mortar water retention
Learn practical ways to enhance the water retention of gypsum mortar using HPMC, starch ether, and proper mixing techniques to improve workability and reduce cracks… Continue reading
Extend gypsum setting time
Learn why gypsum mortar loses workability too quickly and discover practical solutions using gypsum retarders, HPMC, and formulation optimization to extend working time without compromising strength… Continue reading
