Wall putty bubbling? Learn these tricks to turn bad walls into good walls
Bubbling after wall putty application is a common problem. It can be effectively solved by identifying the cause and taking targeted measures. The following are specific solutions:
1. First, identify the cause of the bubbling
• Improper base treatment: oil stains and dust on the wall have not been cleaned, or the base is damp (excessive moisture content).
• Construction problems: the wall putty is too thick, the coating interval is too short, or the temperature is too high/too low during construction.
• Material problems: poor quality wall putty, improper ratio, or incompatibility with the base material.
2. Targeted solutions
1. Treating the base layer is key
◦ Thoroughly clean the wall surface before construction, wipe away dust and grease with a damp cloth, and remove any loose sections.
◦ Ensure the wall surface is dry (moisture content ≤10%). For damp walls, ventilate and dry naturally or use drying equipment.
2. Standardize the construction process
◦ Apply 2-3 coats of wall putty, each coat no thicker than 1 mm. Allow each coat to dry thoroughly before applying the next coat (you can judge whether it is dry by observing the color; when dry, the color will become lighter and more uniform).
◦ Avoid construction in extreme weather: suspend work when the temperature is below 5°C or above 35°C, close doors and windows in rainy weather or when the humidity is >85%, and use a dehumidifier to reduce humidity if necessary.
3. Select the right materials and use them correctly
◦ Select wall putty of qualified quality, giving priority to special wall putty suitable for the base layer (such as cement walls and plasterboard).
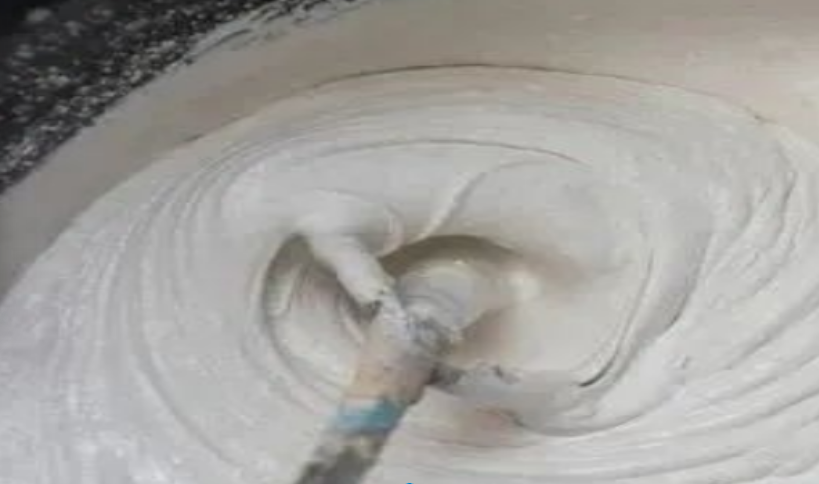
◦ Mix the wall putty according to the instructions, add water, stir evenly, and let stand for 5-10 minutes. Stir again before use to avoid the mixture being too thin or too thick.
4. Repair blistered walls
Small blisters: Use a knife blade to cut a cross along the edge of the blister, squeeze out the air or moisture inside, wait for it to dry, fill with wall putty, sand smooth, and then repaint.
Large blisters: Remove the blisters and loose wall putty around them, re-treat the base layer according to specifications, and apply wall putty.
Following these steps will effectively prevent wall putty from blistering and make the wall smooth and durable.